2025-10-28

As solar energy becomes mainstream, LiFePO4 (lithium iron phosphate) batteries have quickly become the gold standard for off-grid power systems. Why? Because they’re safer, longer-lasting, and way more efficient than old-school lead-acid batteries.
LiFePO4 batteries boast high energy density, extended cycle life (usually 6000+ cycles), and excellent thermal stability. They're applied everywhere from portable solar generators to RV applications and home energy storage solutions. Combined with solar panels, they form a clean, quiet, and maintenance-free power solution that saves both money and the planet.
But here's the catch: it's not as simple as hooking up some wires to charge a LiFePO4 battery using solar. You're going to want the right tools—and the right steps—to charge it safely.
Do not connect anything first and ensure that your solar charge controller is configured correctly.
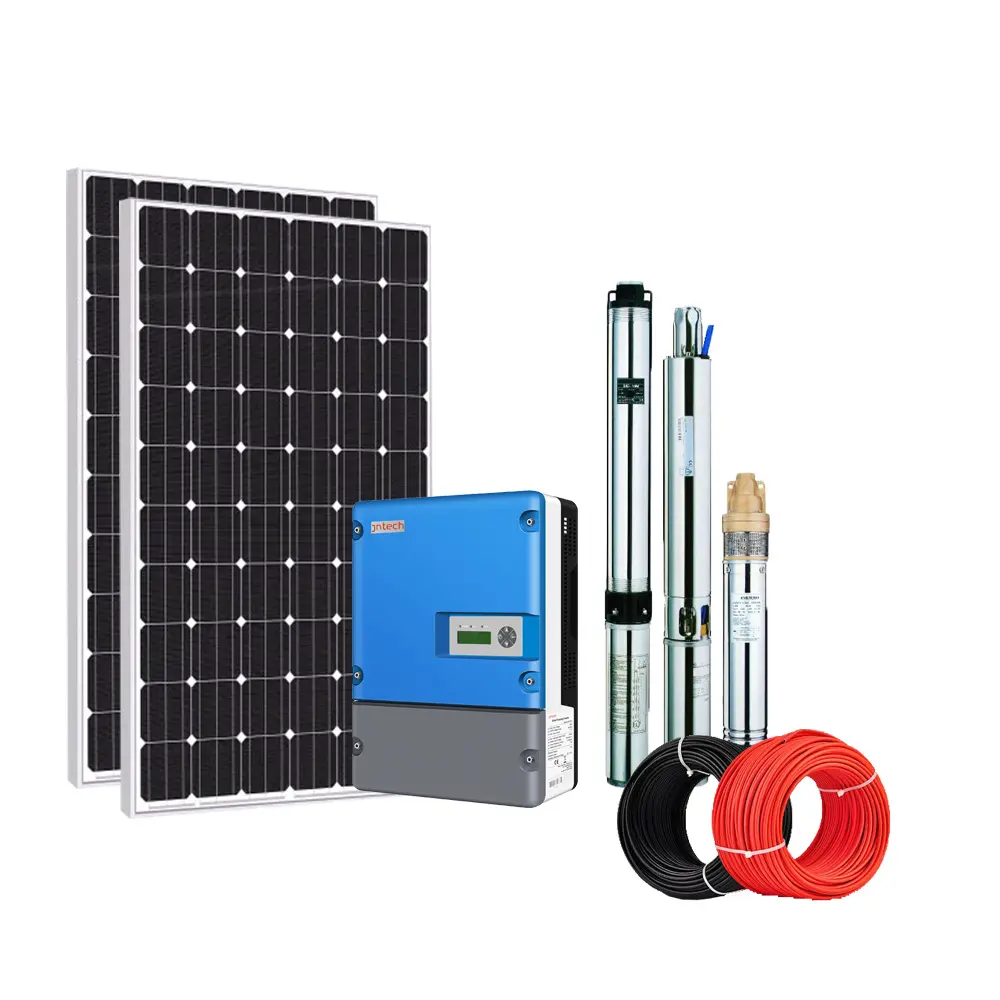
Controllers like MPPT (Maximum Power Point Tracking) are ideal here—they extract the maximum power from your panels, even in partial sunlight.
Always plug the battery in first, followed by the panels. This allows the controller to detect the correct system voltage.
A newb error? People hook up the panels first, and then unregulated voltage feeds the controller. Electronics lover's bad day.
Your battery is installed; now it's time to capture the sun's power.
If you're wondering how many panels to employ—here's an example quickie:
To top off a 12V 100Ah LiFePO4 battery, you'll typically need approximately 240 watts of solar for a full charge with 5 hours of direct sunlight (roughly two 120W panels).
After the system is operational, keep an eye on the numbers.
Because mistakes can cost money, let's take a quick look at what not to do:
❌ Don't charge from solar panels without a controller — it will overcharge and wreck your battery.
❌ Don't mix LiFePO4 with other battery types.
❌ Don't set your charge controller to a lead-acid mode.
❌ Don't ignore polarity labels—reverse plugs can lead to sparks or destruction.
Solar charging is not plug-and-play; it's working with voltages, currents, and capacities in balance.
Industry professionals will inform you: "Your solar system is only as strong as its weakest wire.".
Let's talk about optimization—how to get the most out of your system's life and power.
✅ Utilize partial charge cycles—LiFePO4 doesn't need to go all the way to 100% every time.
✅ Keep cool—heat is the sneaky battery killer.
✅ Inspect and upkeep regularly—secure loose terminals, clean solar panels.
✅ Follow manufacturer recommendations regarding charge/discharge rate.
Some people even operate their system in parallel with a solar inverter or BMS to monitor health, stop overcharging, and equalize cells autonomously.
Here's a short case study:
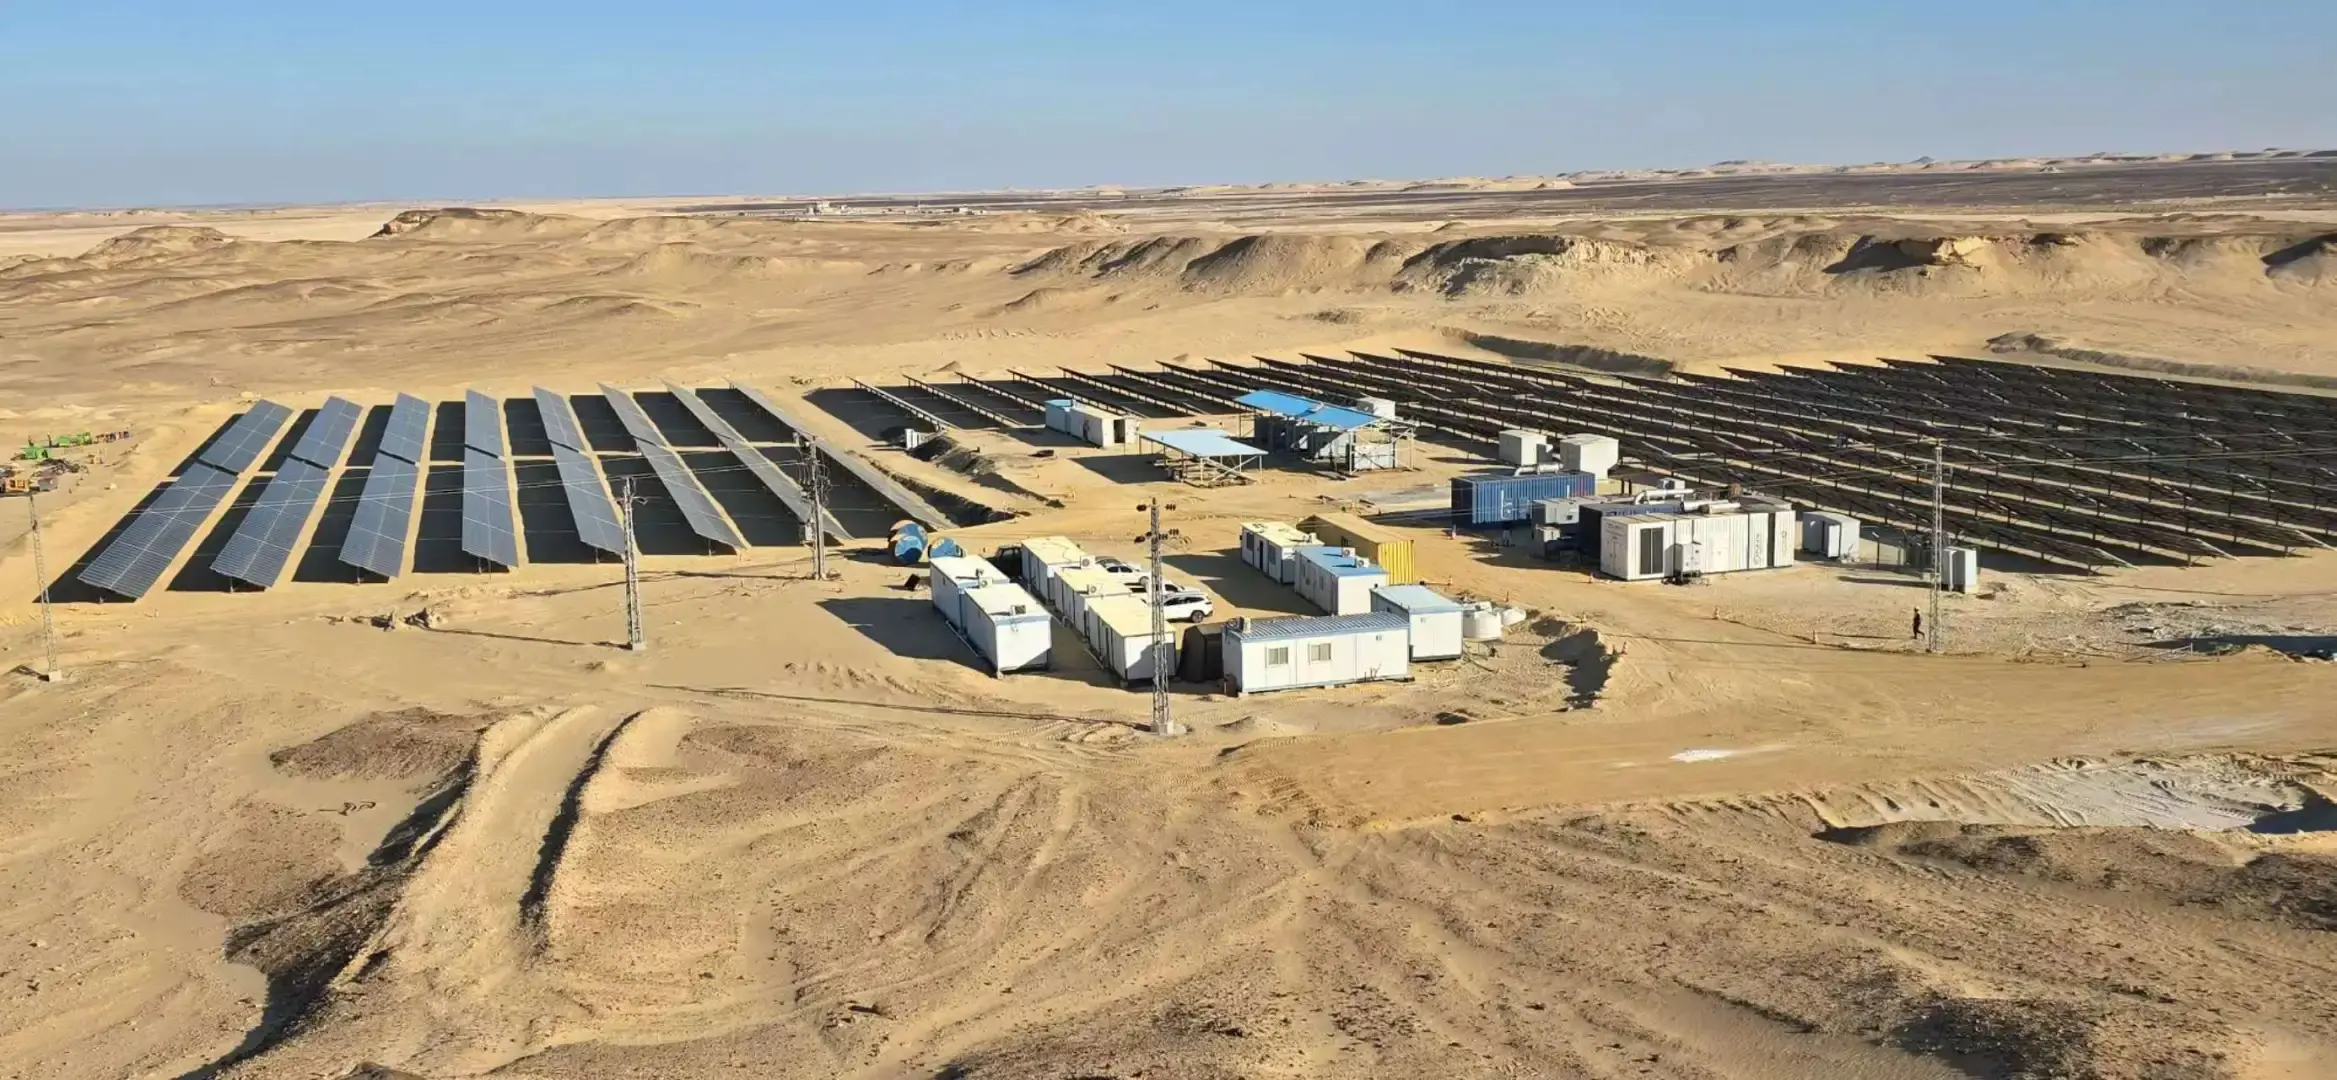
An Arizona cabin owner has a 12V 200Ah LiFePO4 setup charged by 400W solar panels and an MPPT charge controller. It is lighting LED lights, powering a mini-fridge, and water pump. Charging 30% to 100% happens in under 5 hours of full sun.
After a year's use, the owner reports almost no battery capacity loss and no maintenance problems at all—extremely unlikely with lead-acid batteries.
Solar + LiFePO4 integration is flying high in 2025. Solar power packs, residential storage systems, and even electric vehicle chargers are now adopting smart MPPT algorithms, AI-driven battery management, and temperature-measuring charging to squeeze out maximum efficiency.