2025-12-17
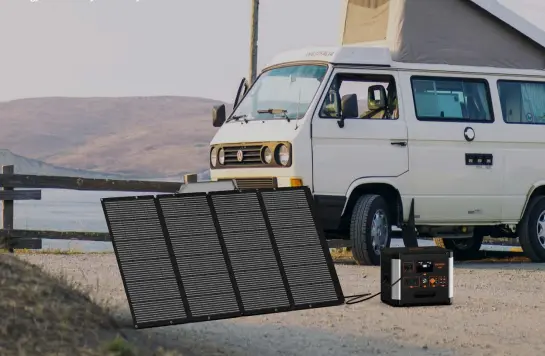
Installing a solar energy system for RV batteries is the key to converting sunlight into freedom and power on the road. It not only keeps your appliances running far from hookups but also significantly reduces reliance on noisy generators, allowing for quieter, more sustainable travel. This guide provides a complete roadmap for setting up your own solar power charging RV battery system.
A successful installation starts with careful planning and choosing the right parts for your solar kit to charge RV battery.
List All Appliances: Note the power rating (in watts, W) and estimated daily hours of use for each device (lights, fridge, fan, water pump, electronics).
Calculate Total Daily Consumption: Multiply each appliance's wattage by its hours of use to get watt-hours (Wh), then sum them all. Example: A 10W LED light used for 5 hours consumes 50Wh.
Add a Buffer: Increase your total by 20-30% to account for cloudy days or unexpected usage.
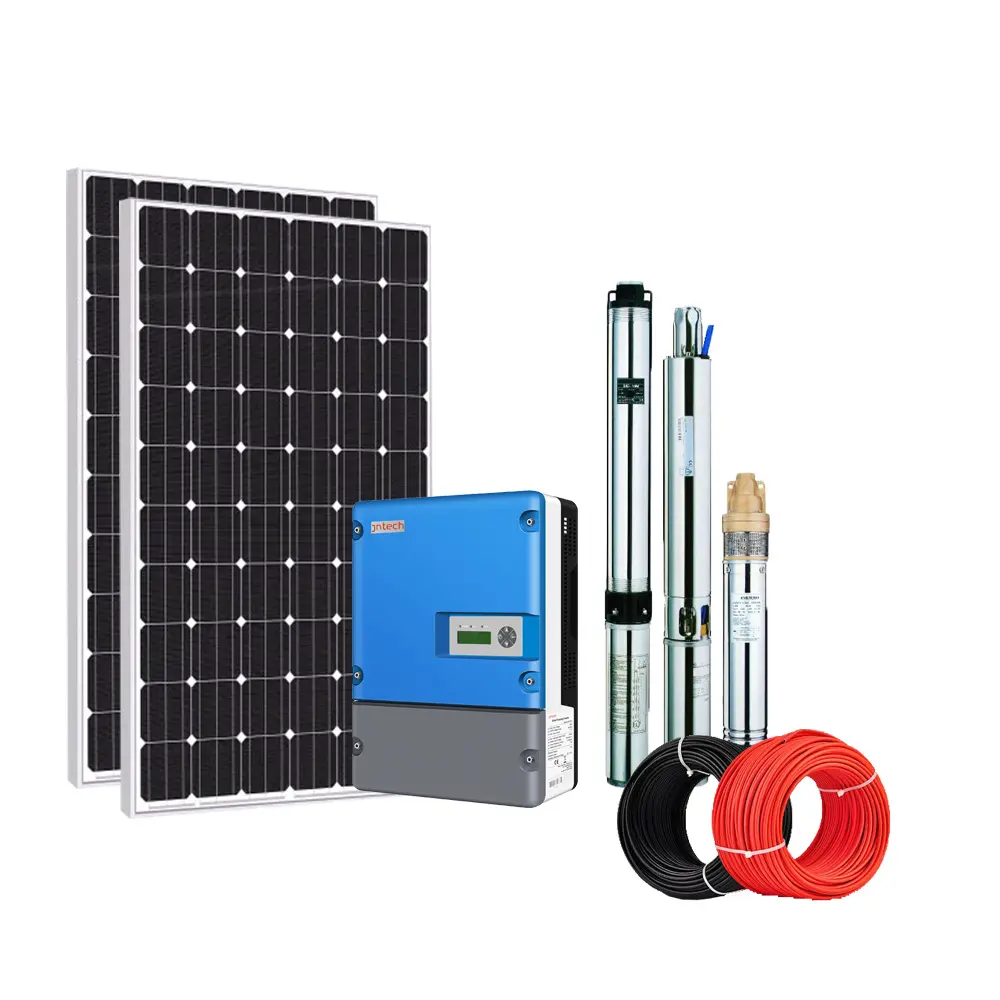
Solar Panels: The power generators.
Type: Monocrystalline panels are highly recommended for their superior efficiency (18-22%), delivering more power from limited roof space. Polycrystalline panels offer a budget-friendly alternative with slightly lower efficiency.
Sizing: A simple formula is: Total Panel Wattage (W) ≈ Daily Power Use (Wh) ÷ Local Peak Sun Hours ÷ 0.7 (System Loss Factor). For example, for 2000Wh daily use with 4 sun hours, you'd need approximately 715W of panels.
Solar Charge Controller: The essential solar panel charger for RV batteries, protecting them from overcharging.
Type: An MPPT (Maximum Power Point Tracking) controller is strongly advised. It is 15-30% more efficient than older PWM types, especially in cool, cloudy, or low-battery conditions, maximizing energy harvest.
Specs: The controller's voltage must match your panel array. Its current rating (Amps) should exceed Total Panel Wattage ÷ System Voltage. For a 600W system on 12V, that's 50A, so a 60A MPPT controller is a good fit.
Battery (Storage): Your power bank.
Type: Deep-cycle Lithium (LiFePO4) batteries are the optimal choice for RVs. They are lightweight, long-lasting, allow deep discharges (up to 80-90% capacity), charge faster, and require no maintenance. Lead-acid batteries are cheaper but heavier and less durable.
Capacity: Base this on your daily needs. Formula: Battery Capacity (Ah) ≈ Daily Power Use (Wh) ÷ Battery Voltage (V) ÷ Desired Depth of Discharge. For 2000Wh on a 12V system, discharging to 80%, you'd need about 208Ah of lithium battery.
Other Essential Parts:
Cables & Connectors: Use only flexible, UV-resistant PV-rated cable. Ensure wire gauge is thick enough to minimize loss (e.g., 10A current needs at least 2.5mm² cross-section). MC4 connectors are the standard for secure, waterproof panel connections.
Fuses/Breakers: Critical for safety. Install a DC fuse on the positive wire between both the solar panels and controller and the controller and battery to prevent short-circuit fires.
Mounting Hardware: Use sturdy, vibration-resistant brackets to secure panels to the roof. Adjustable-angle mounts can optimize seasonal performance.
Always follow the golden rule: When connecting, attach the battery to the controller first, then the solar panels. When disconnecting, reverse the order. This protects the controller.
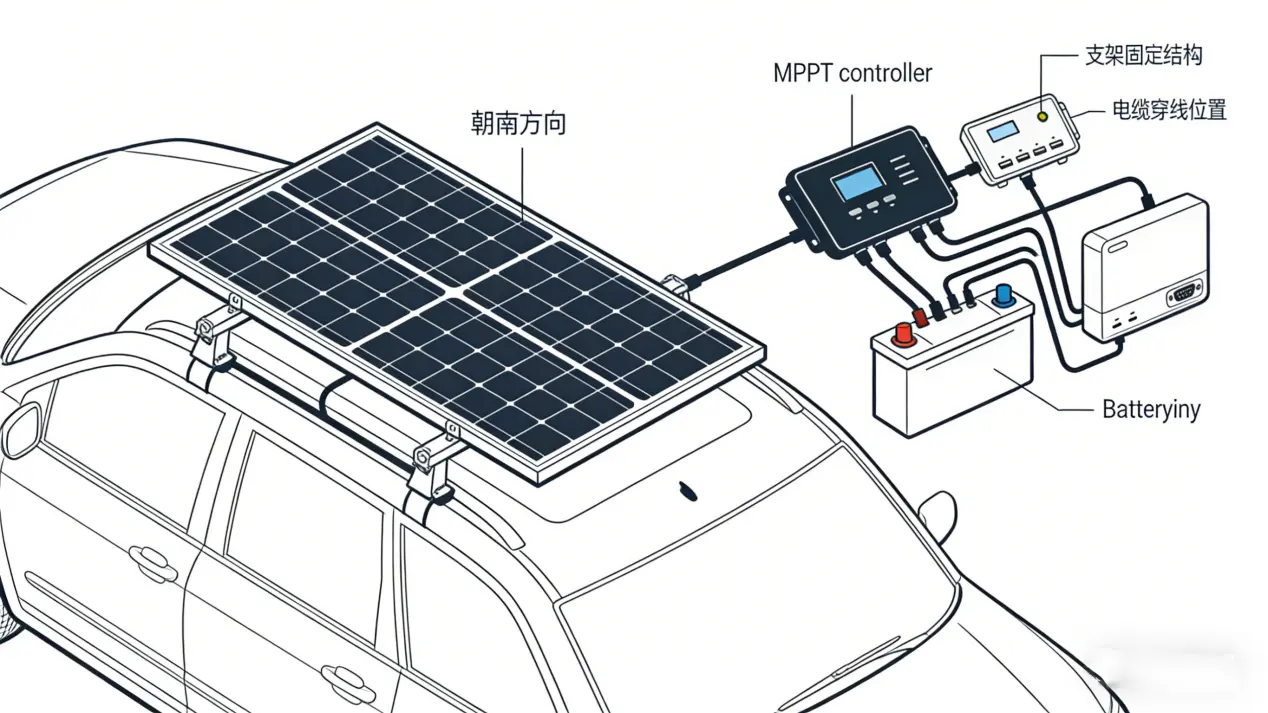
Secure panels to the roof using the mounting hardware, ensuring an air gap underneath for cooling.
Orient panels toward the south (in the Northern Hemisphere) for maximum sun exposure. Tilt kits can enhance seasonal yield.
Route the cables from the roof into the RV interior through a waterproof entry gland. Secure all wires to prevent wear while driving.
Run cables to the planned location of the charge controller (ideally close to the batteries in a ventilated area).
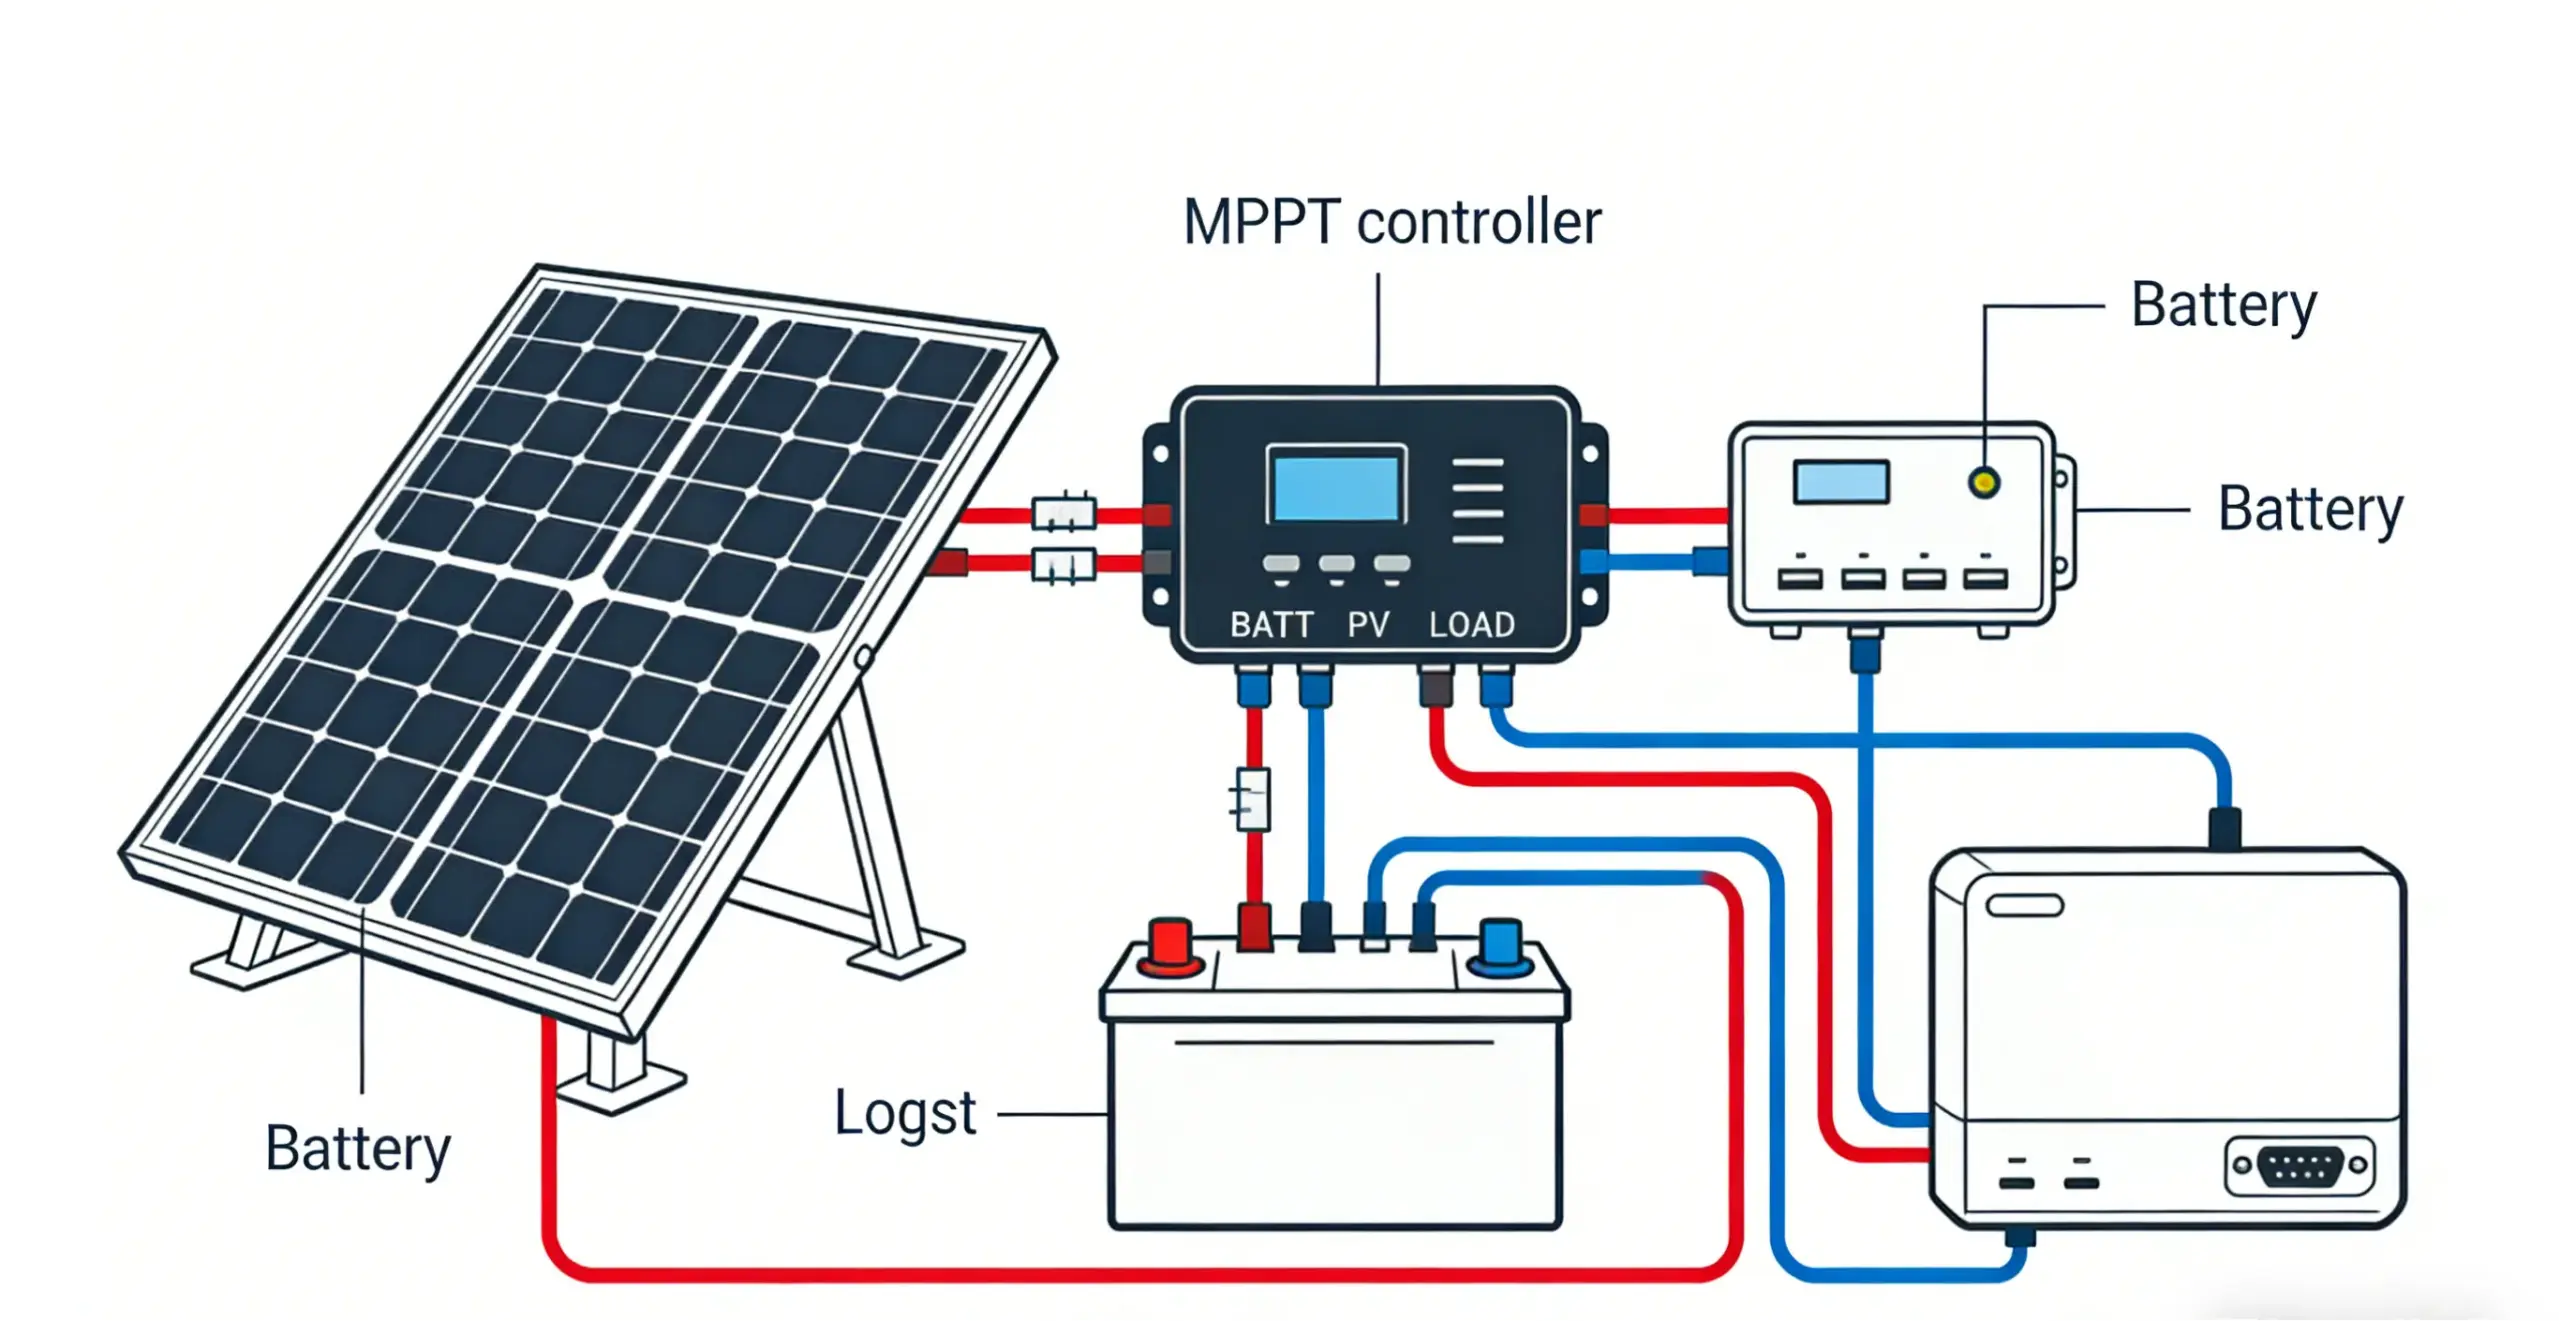
Step 1: Connect the controller's BATT terminals to the RV battery terminals, placing a fuse on the positive line within 18 inches of the battery.
Step 2: Connect the solar panel cables to the controller's PV terminals, with an in-line fuse on the positive wire.
Step 3 (Optional): Connect 12V loads to the controller's LOAD terminals for low-voltage disconnect protection.
Double-check all connections for tightness and correct polarity. Ensure fuses are the correct amperage.
Once connected, the controller's display should activate, showing battery voltage. When sunlight hits the panels, it should display charging status, voltage, and current.
Observe the system over several days to understand its output in different weather and verify it meets your needs.
Prioritize Safety: Always cover panels or disconnect under shade before working on the system.
Keep Panels Clean: Regularly wipe away dust, leaves, and bird droppings to maintain peak efficiency.
Inspect Regularly: Periodically check all wiring, connections, and components for signs of corrosion, damage, or overheating.
Battery Care: Although lithium batteries are low-maintenance, avoid consistently draining them to 0% for the longest lifespan.
In summary, learning how to solar charge RV battery is an empowering project. A well-planned solar energy system for RV batteries acts as a reliable, silent RV solar battery maintainer, providing enduring power independence and unlocking the true potential of off-grid adventure.